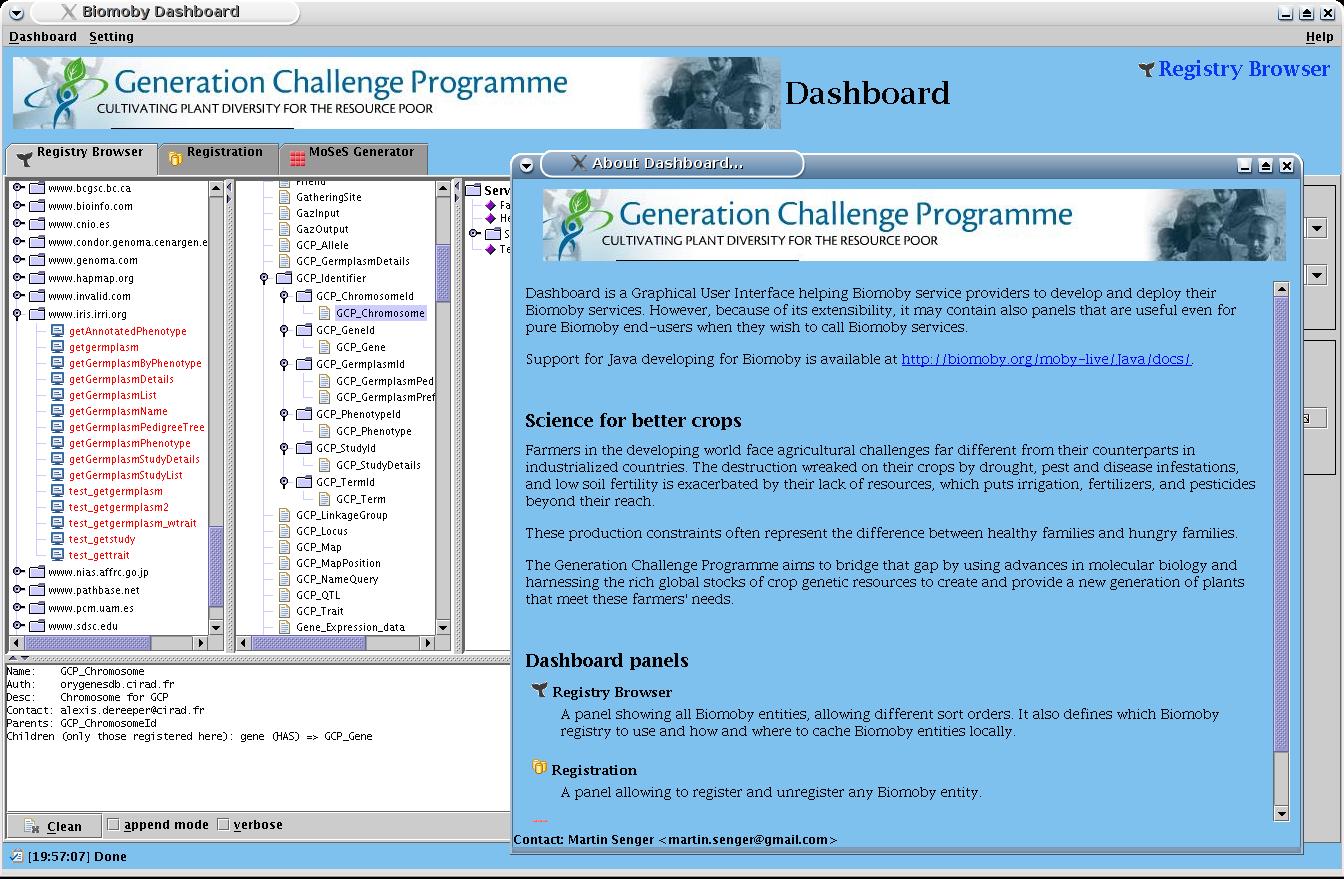
The best is to start by looking into src/config/dashboard directory. This directory contains default configuration (the one that is shown in the screen-shots elsewhere in this document) and has a reasonable detailed comments about various properties.
The bottom line is that you have to create (anywhere) your own directory with the same structure as src/config/dashboard has, and then start Dashboard with an additional property dashboard.config.dir. For example, assuming that I have created a new configuration in /home/senger/GCP/dashboard:
Coincidentally (./build-dev.sh -Ddashboard.config.dir=/home/senger/GCP/dashboard dashboard
 ), I
have created such directory, indeed, and here is a
screen-shots how of a new Dashboard looks like:
), I
have created such directory, indeed, and here is a
screen-shots how of a new Dashboard looks like:
The mentioned configuration is available from the GCP CropForge.
What does this additional property do? It packs the given directory to a jar file build/lib/dashboard-config.jar - where it is used from by the Dashboard. Therefore, you can also have a bunch of such jar config files for various configurations, and swapping them manually will give you the same effect as using the property dashboard.config.dir.
The main message is: Please do develop your own panels!.
Here is a quick start:
Let's look at more details:
This is a typical starting point:
public class ExamplePanel
    extends AbstractPanel {

    /*********************************************************************
     * Default constructor.
     ********************************************************************/
    public ExamplePanel() {
	super();
	panelIconFileName = "images/smallTutorial.gif";
    }
The AbstractPanel uses the global variable panelIconFileName
(if it is not empty) to load an icon associated with your panel - so
you do not need to do anything else regarding panel icon (meaning: you
do not need to implement method getIcon() required by the
DashboardPanel interface). The best place for the directory
with images is a subdirectory of the directory where your panel
implementation is sitting. The most important is method getComponent - here is the core of your panel:
public JComponent getComponent (PropertyChannel aPropertyChannel) {
setPropertyChannel (aPropertyChannel);
registryModel = createRegistryModel();
if (pComponent != null) return pComponent;
pComponent = new JPanel();
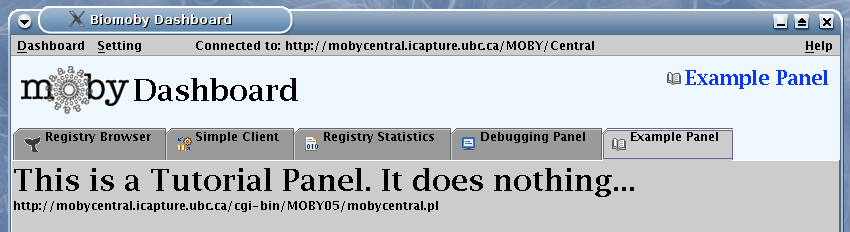
JLabel label = new JLabel ("This is a Tutorial Panel. It does nothing...");
label.setFont (new Font ("Serif", Font.BOLD, 30));
pComponent.add (label);
return pComponent;
}
The code above shows additional features and help of the parent panel
(if you choose to use them, of course):
If you wonder where the constants DP_STATUS_MSG comes from: It is from an interface DashboardProperties that is implemented also by the AbstractPanel.propertyChannel.fire (DP_STATUS_MSG, "Example panel loaded.");
   JLabel label2 =
      new JLabel (registryModel.getDefaultRegistryEndpoint());
   pComponent.add (label2);
You still need to implement few other methods - but they are trivial:
    public String getName() {
	return "Example Panel";
    }

    public String getDescription() {
	return
	    "A panel that does nothing. It is used in the " +
	    "documentation for developers as a tutorial.";
    }

    public boolean loadOnlyOnDemand() {
	return true;
    }
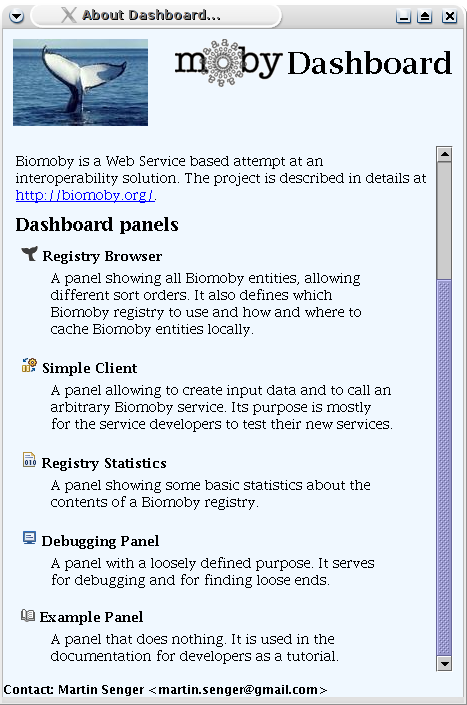
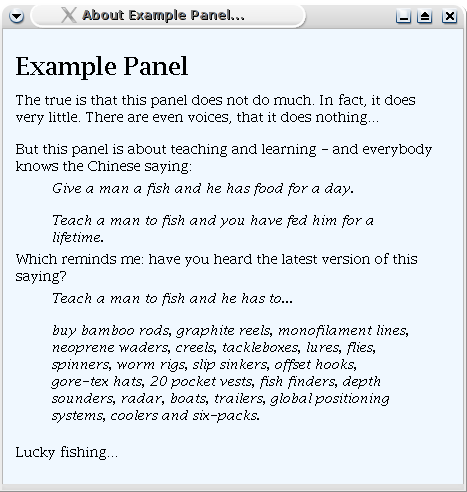
The result of the getName(), you have already seen in the
picture above. Dashboard propagates automatically the result of
getDescription to the Help --> About window
(below left), and to the Help --> Example Panel (below
right):
 |
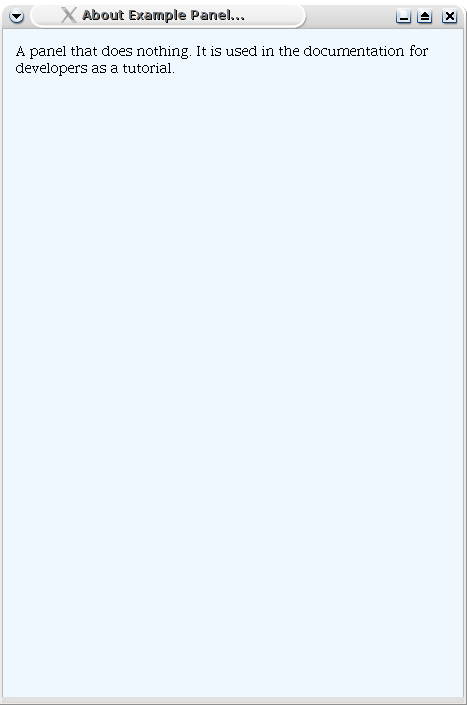 |
The help on the right is obviously not too helpful. A better place for a richer help file - where you can use most of the HTML - is a help sub-directory under the directory where your panel implementation class is located. The file must have the same name as the last part of your class name, and .html ending. Therefore, after creating a file ExamplePanel.html, the Help --> Example Panel gives us more:
 |
There may be few slightly more complicated things to consider when you are writing a real-value panel - especially notification about changes in other panels, and using the SwingWorker class to do time-consuming tasks without stopping responsiveness of the GUI. Please consult other existing panel, or send me an email. I may also improve this documentation in the future...
Now - when your panel is ready - you need to know...
Open file src/config/dashboard/META-INF/services/org.biomoby.service.dashboard.DashboardPanel and add there a line with a full name of the class implementing new panel. This is how the file may look like:
And that's it. Next time when you start Dashboard, your panel is there. Well, not immediately, because you wrote method loadOnlyOnDemand() as returning true. That's why you need to go to Settings --> Panel selection and check in your Example Panel.org.biomoby.service.dashboard.RegistryPanel org.biomoby.service.dashboard.RegistrationPanel org.biomoby.service.dashboard.GeneratorPanel org.biomoby.service.dashboard.SimpleClientPanel org.biomoby.service.dashboard.StatisticsPanel org.biomoby.service.dashboard.DebuggingPanel org.biomoby.service.dashboard.ExamplePanel
The main message is: Please do develop your own viewers!. Or tell us about useful viewers developed by an open-source community, and somebody can add it to Dashboard.
Here is a quick start:
The bottom line is that viewers are specific for some Biomoby data types, or for a group of Biomoby data types. However, in order to stay within spirit of the Biomoby data type hierarchy, any viewer that claims that it can display a data type "X" must be also able to display all sub-types of "X". Dashboard provides support for that.
Another issue is that Biomoby data objects can be top-level objects, or they can be nested as members in other Biomoby objects. Should viewers automatically display also member objects? At the moment, Dashboard does not provide any general help for it (even though it does not prevent to make this decision in your viewer) - my opinion is that an object should be displayed as a whole, or a viewer should decide what to display and what to leave. An example is a viewer for images (class Base64Image) that is configurable to display just some members of other objects if they represent an image.
Let's look at more details:
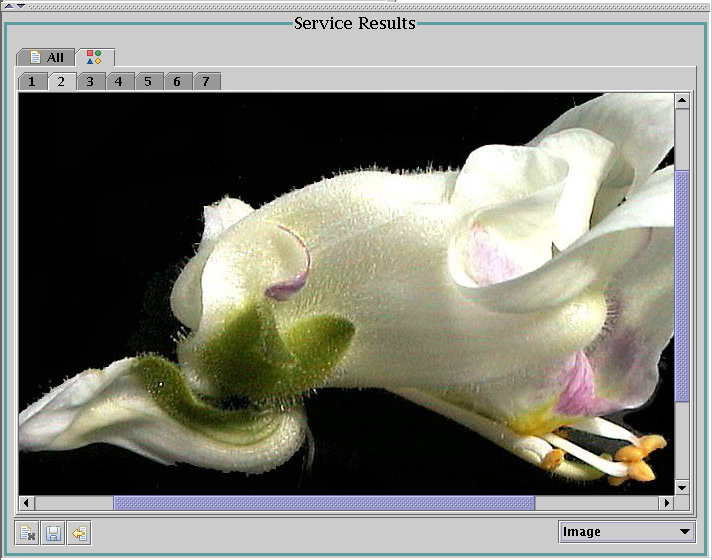
As an example, let's follow the code for Base64Image, an image viewer understanding various image formats (png, jpg, gif), all of them encoded as Base64 strings. Java has a pretty strong support for these images, so the code will be very short.
The usual constructor has two parameters: a name is used in the list of available viewers, and a file name with an icon representing this viewer. The icon is loaded and return by the getIcon() method by the parent, no need to worry about it anymore.
public class Base64Image
    extends AbstractMobyRenderer {

    public Base64Image() {
        super ("Image", "images/image.gif");
    }
The tricky (but still easy to follow) part is a method that answers
the question what data this viewer can display (render):
public boolean canHandle (String criterion, Object value) {
    return (
	criterion.equals (MOBY_TYPE) &&
	isSubclassOfKnown (value.toString())
	);
}
The method should return true if this viewer can handle
(render) data whose type complies with given value within given
criterion. It looks obvious - but there are two issues attached to it:
first is, what criteria are available, and second is, what questions
(what criteria) will be this viewer asked. The value in the method depends on the criterion. For example, if used criterion is MIME_TYPE, the value can be "text/xml". Or if the criterion is MOBY_TYPE (which is the most used case, anyway), the value is a name of a Biomoby data type, such as "b64_encoded_gif".
A suggested list of criteria is in Renderer interface.
Dashboard (concretely its ResultsPanel) calls all available viewers with the following criteria (this is important to know):
 public boolean canHandle (String criterion, Object value) {
    return (
	criterion.equals (MIME_TYPE) &&
	value.toString().equals ("text/xml")
	);
}
public boolean canHandle (String criterion, Object value) {
    return (
    criterion.equals (MOBY_TYPE)
    );
}
All the viewers found so far will be grouped into one pop-down menu
labeled All
 |
 |
You could put into your canHandle method directly the name of the data type you can render, but it is not recommended - because it would not recognize sub-types of the data type that you can render. Therefore, the recommended way is to use this (as was already shown for the image viewer above):
public boolean canHandle (String criterion, Object value) {
    return (
	criterion.equals (MOBY_TYPE) &&
	isSubclassOfKnown (value.toString())
	);
}
The method isSubclassOfKnown() is implemented in the
AbstractMobyRenderer and it uses external configuration file
connecting together viewer class names and Biomoby data types, in a
more flexible way than to hard-code it directly in the Java code. This
configuration file is described a bit later.
Now, we can continue with the core method of your viewer - the one that actually produces a component that displays things:
public JComponent getComponent (DataContainer data)
    throws MobyException {

    // deal with collections
    if (data.getData().getClass().isArray())
	return new TabCollectionRenderer (this).getComponent (data);

    // the real job
    try {
	String encoded = traverseToString (data.getData());
	byte[] imageData = Base64.decode (encoded);
        ImageIcon theImage = new ImageIcon (imageData);
	return new JScrollPane (new JLabel (theImage));
    } catch (Error e) {
	throw new MobyException
	    ("Problem in renderer '" + getName() + "'.", e);
    }
}
The input parameter contains data to be rendered. It contains also
something else (metadata) but that will be shown at the end of this
tutorial as an advanced feature (see the Pedigree Viewer below). You
get data by calling data.getData().An interesting method is traverseToString() (again implemented in the parent AbstractMobyRenderer). Remember that all values are always stored in Biomoby primitive types, and each primitive type (as any other member) is accessible through its known article name. In Biomoby Java objects, the article names are represented by method names. Therefore, in order to get to a primitive value, you need to know also a method name. Sometimes, however, you need to do it recursively. Consider this example:
Data type NCBI_Blast_XML_Gif
   HAS A b64_encoded_jpeg (accessible by method getMoby_hitGraph)
       which again HAS A String (accessible by get_content)
Once the method names are known (and they are, because they are in an
external XML configuration file - that we will see soon), the real
content can be easily extracted. And that's what the method
traverseToString() does for you.
Every viewer should be prepared to deal both with Biomoby single
(simple) data object, and with a collection of them. Fortunately, it
is easy because there are two classes that you can pass the collection
to, together with a reference to your viewer. The class
BoxCollectionRenderer will call for each element of the
collection back your viewer, and will arrange all components returned
in a vertical box layout. The other one,
TabCollectionRenderer will do the same but will arrange the
component into tabbed pane. In the code example above, the
The last method is for saving data to a local file:
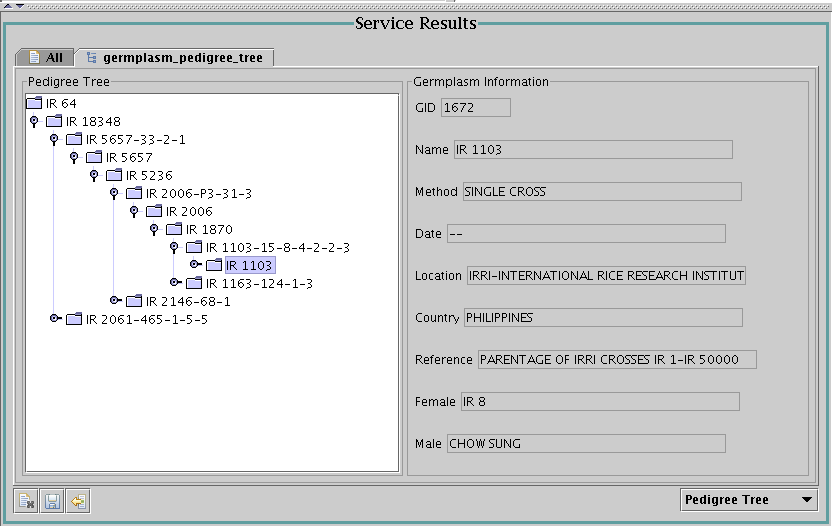
Before concluding this section, one example of a more complex viewer -
a pedigree viewer for germplasm (produced by service
getGermplasmPedigreeTree with the input id="50533"):
The complexity is not in the graphics itself, but in the fact that one
service call returns only three generations of the pedigree
tree. Further expansion of the tree requires to call the same service
again, with a different input - and that is what this viewer does. It
uses metadata in the data container, where the ResultPanel
wisely put a PropertyChannel instance where this viewer can
find what service to call with all details. Look directly in the
ICISPedigreeTree.java for more details.
There is a file renderers.conf.xml in the
src/main/org/biomoby/service/dashboard/renderers/ directory:
Last, but not least:
Open file
src/config/dashboard/META-INF/services/org.biomoby.service.dashboard.renderers.Renderer
and add there a line with a full name of the class implementing new
viewer. This is how the file may look like:
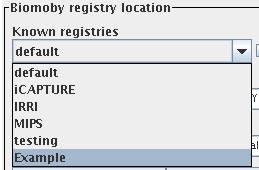
However, if you provide your own registry, or if you test a new
registry, there is another way how to add new registry (or registries)
to the list shown in Dashboard:
After restarting dashboard, your new registry will appear
in the registry browser panel. You can experiment first with the
provided ExampleList class:
You can see that it has the same pattern as with the graphical
component itself: it delegates most of the task either to a collection
(here, it does not matter which collection, box or tab, you use), and
to its parent (the real saving).
public boolean save2File (DataContainer data, File file)
    throws MobyException {

    // deal with collections
    if (data.getData().getClass().isArray())
        return new TabCollectionRenderer (this).save2File (data, file);

    String encoded = traverseToString (data.getData());
    byte[] imageData = Base64.decode (encoded);
    return super.save2File (new DataContainer (imageData), file);
}
Configuring viewers
Each viewer that renders specific Biomoby data types, needs to tell
which data types it renders, and how to extract data from them. The
extraction process (using method names) was described above. Here is
how and where to store the information itself.
Add there the class of your viewer, and the name (or names) of the
recognized Biomoby data types, and methods for extraction. The method
names are derived from the article names , and can be found in the
generated javadoc API for Java Moby objects.
<renderers>
  <renderer class="org.biomoby.service.dashboard.renderers.Base64Image">
    <moby_type name="Image_PNG" method="get_imagedata"/>
    <moby_type name="b64_encoded_gif" method="get_content"/>
    <moby_type name="b64_Encoded_PNG" method="get_content"/>
    <moby_type name="b64_encoded_jpeg" method="get_content"/>
    <moby_type name="NCBI_Blast_XML_Gif" method="getMoby_hitGraph"/>
  </renderer>
  <renderer class="org.biomoby.service.dashboard.renderers.ICISPedigreeTree">
    <moby_type name="GCP_GermplasmPedigreeTree" method="get_pedigree_xml"/>
  </renderer>
</renderers>
How to add a new viewer to be recongized by Dashboard
Adding a viewer to a Dashboard is done (again, as was for adding
panels) by using Java SPI (Service Provider Interface) mechanism,
supported by toolkit from Apache commons -
discovery. Its usage is straightforward:
And that's it. Next time when a result from a service corresponds to
one of these viewers (or to more of them) they will be used and their
graphics components will be shown.
org.biomoby.service.dashboard.renderers.PlainText
org.biomoby.service.dashboard.renderers.PlainMobyText
org.biomoby.service.dashboard.renderers.Base64Image
org.biomoby.service.dashboard.renderers.XMLTreeRenderer
org.biomoby.service.dashboard.renderers.ICISPedigreeTree
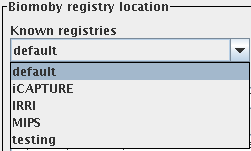
How to add new registries
The registry browser panel has a list of well-known BioMoby registries
- which simplifies browsing more registries. The shown registries come
from a default list which is hard coded in the class RegistriesList.java. If
you wish to have your registry permanently visible by all Dashboard
user, edit this class and commit it back.
package org.biomoby.registry.meta;
public class ExampleList
    extends RegistriesList {

    public ExampleList() {
	super (new Registry[] {
	    new Registry
	    ("Example",
	     "http://endpoint.does.not.exist/MOBY-Central.pl",
	     "http://endpoint.does.not.exist/MOBY/Central",
	     "Example Land",
	     "A contact (example.list@example-land.net)",
	     true,
	     "This is an example how to add your own registry.")
	    });
    }
}
Before After
Martin Senger
Last modified: Mon Oct 2 18:54:15 2006